 Quick response time: quotes turned around in under 12 hours
 See our 5 star Google Reviews
Powder Coating Repairs Sheffield Restore & Renew Your Metalwork
See our 5 star Google Reviews
Powder Coating Repairs Sheffield Restore & Renew Your Metalwork
If existing powder coatings have chipped, faded, scratched or worn over time, Express Coatings offers professional repair and re-coating services from our Sheffield facility — with UK-wide collection and delivery. We restore damaged finishes back to original standard so your metalwork looks great, remains protected, and lasts longer.

 Cost-Effective Restoration
Repairing avoids the expense of full replacement — prolonging the life of metalwork and saving money while achieving a fresh, high-quality finish.
 Restore Original Look and Protection
We match original powder coatings or offer updated colour/finish options. Repairs reinstate corrosion resistance, gloss, texture and aesthetics.
 Flexible Repair Service for Any Size or Condition
From small scratches on furniture to large fabricated items and architectural metalwork — we handle coatings of all sizes and restore them professionally.
Our Powder Coating Repair Services in Sheffield and UK-Wide
What We Offer:
- Scratch and Scuff Repair — light abrasions, surface scratches and blemishes professionally cleaned, pre-treated and over-coated.
- Fade and Weathering Restoration — faded coloured coatings can be refreshed to restore original look and UV resistance.
- Chips and Impact Damage Repair — re-coating chipped or damaged areas using careful preparation, priming (if needed), feather-finishing and professional coating.
- Partial or Full Re-coating — for sections or entire items, depending on condition and client request.
- Colour Matching and Finish Options — we match original RAL/BS colours or help choose refreshed finishes; gloss, matt or textured coatings available.
- Quality Assurance and Final Inspection — every repair job is double-checked for adhesion, finish integrity, and overall appearance before delivery.
We treat each item carefully, ensuring removal of flaking paint, cleaning, priming, proper abrasion, and correct over-coating — restoring both the appearance and protective properties of your metalwork.
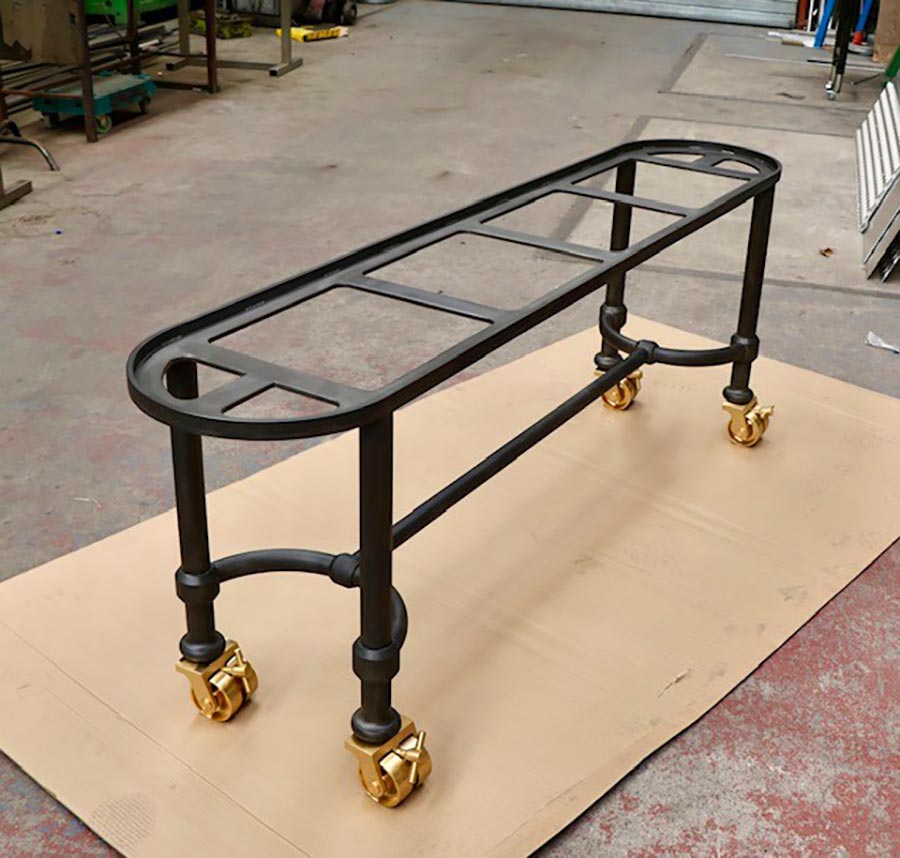
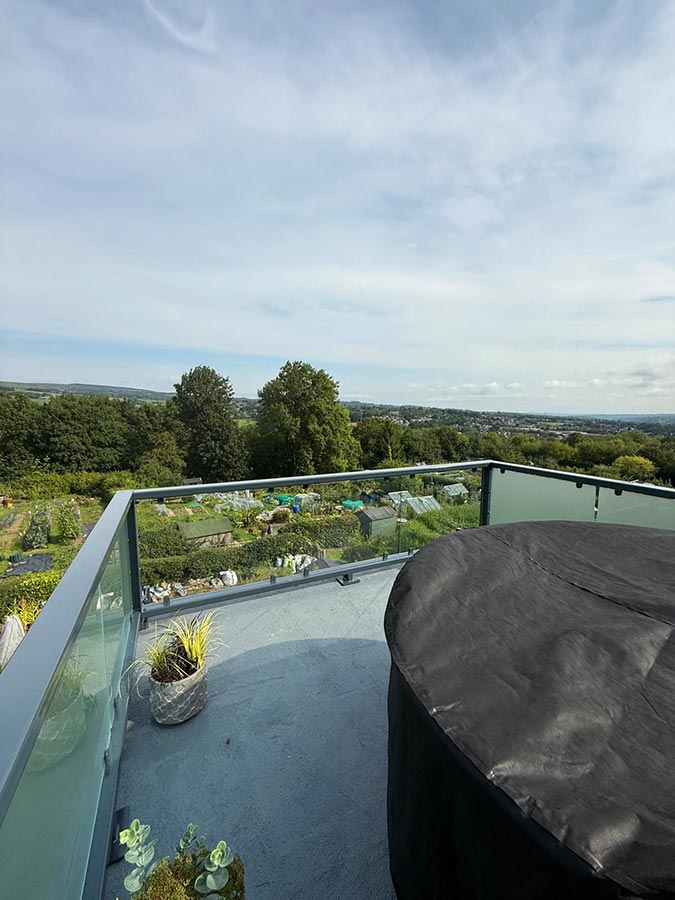
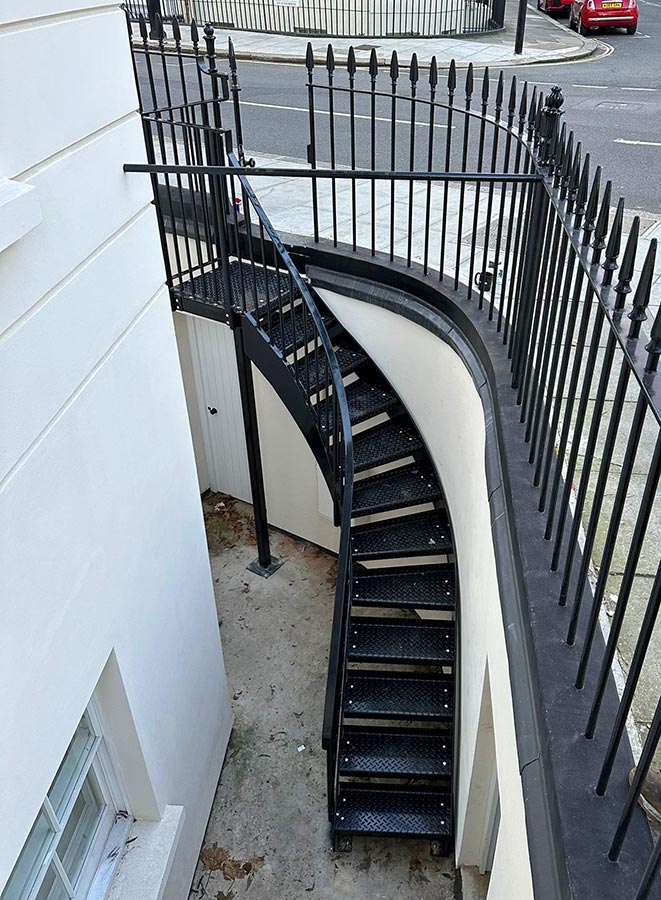
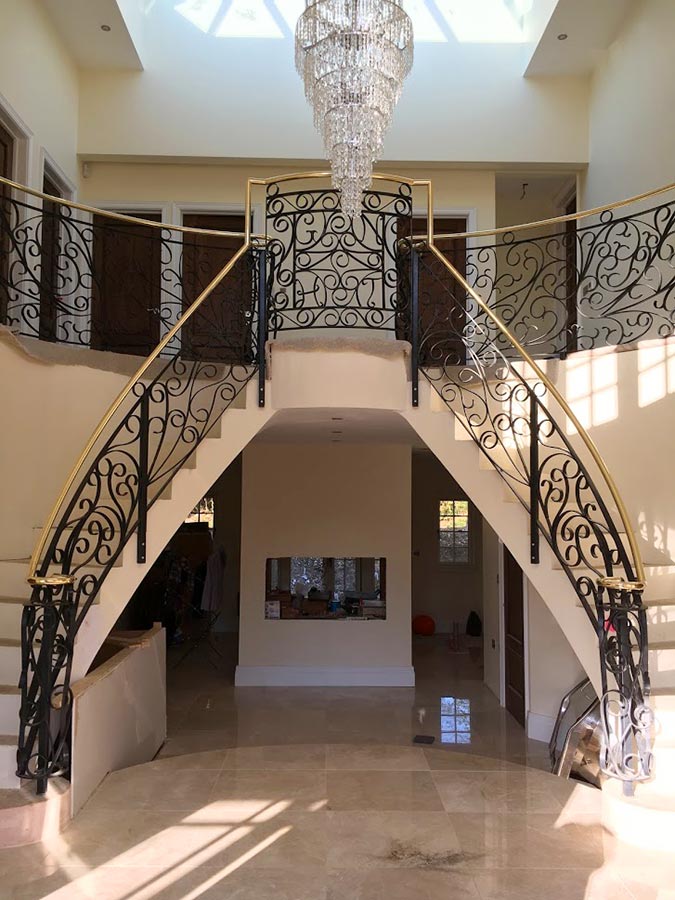
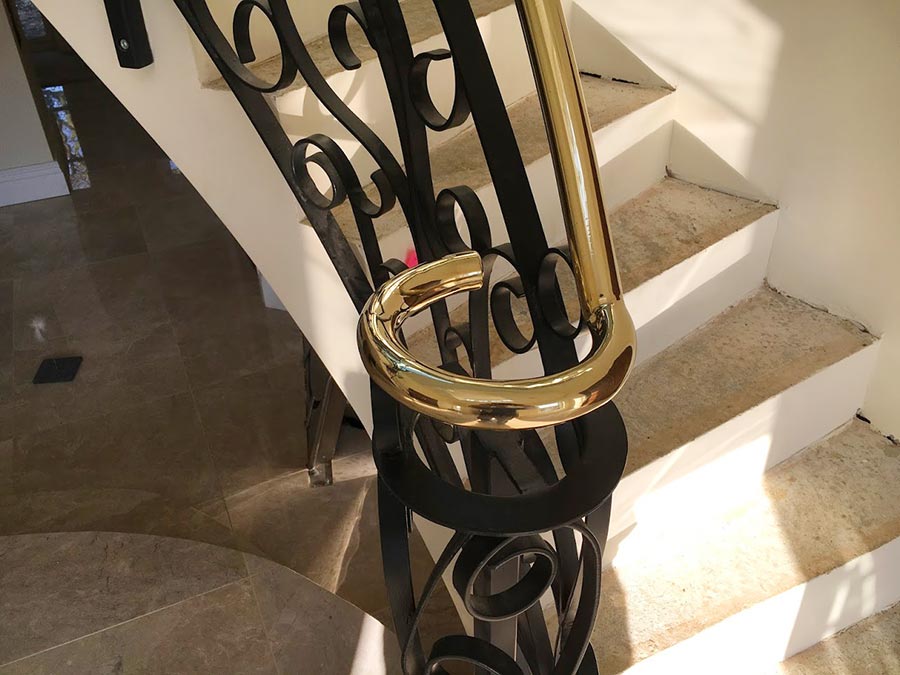
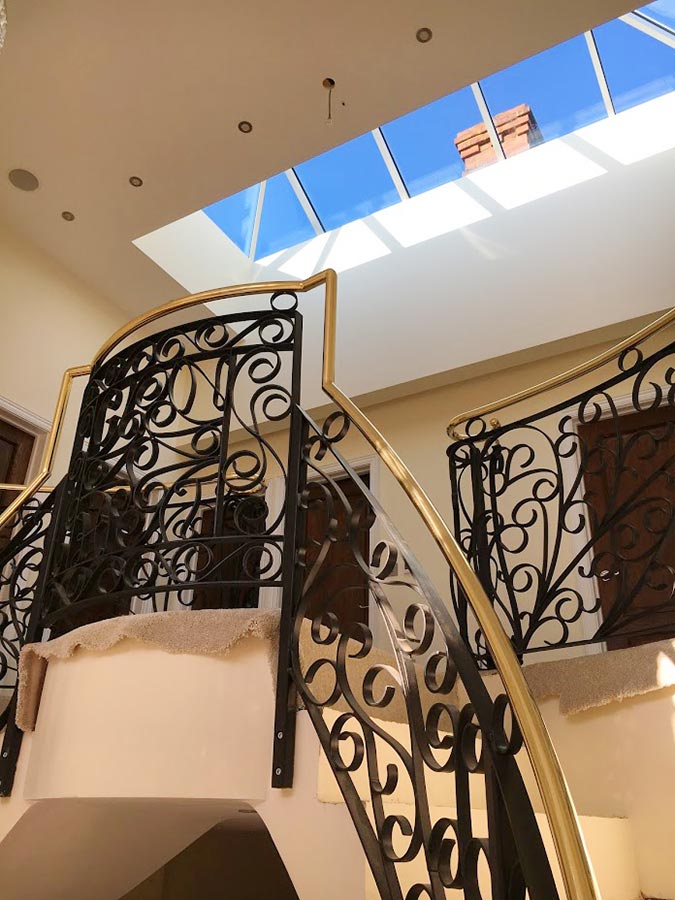
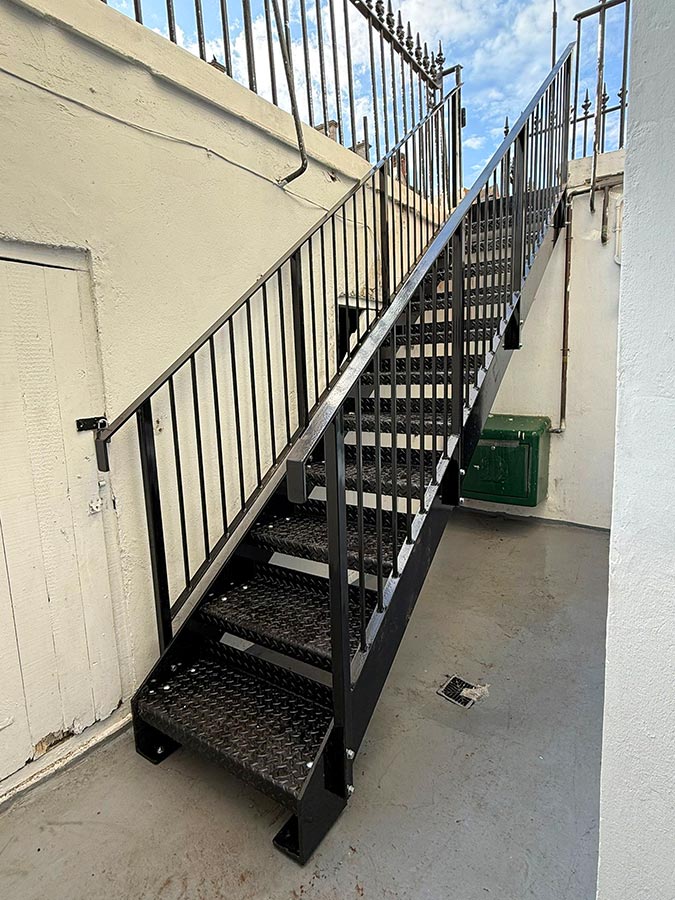
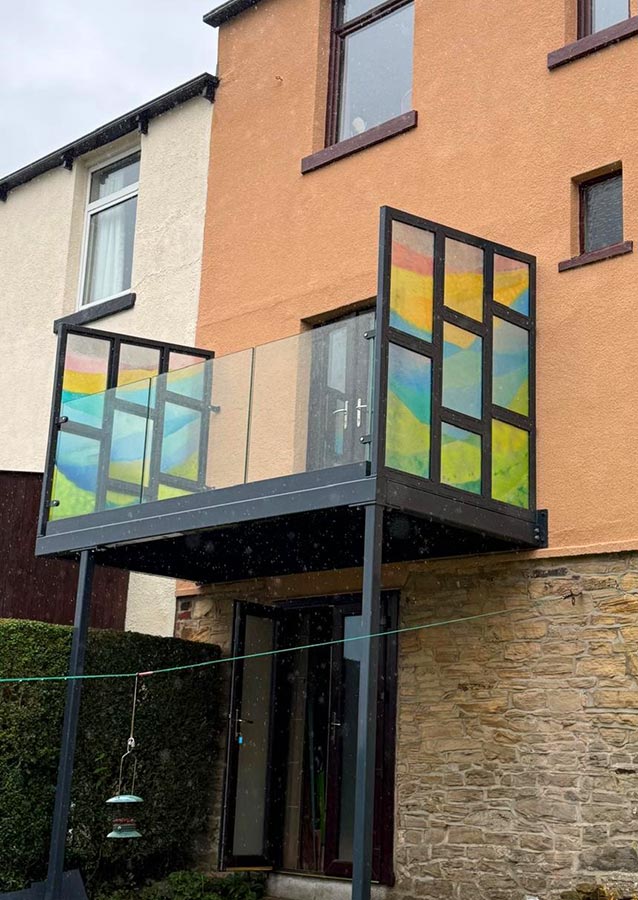
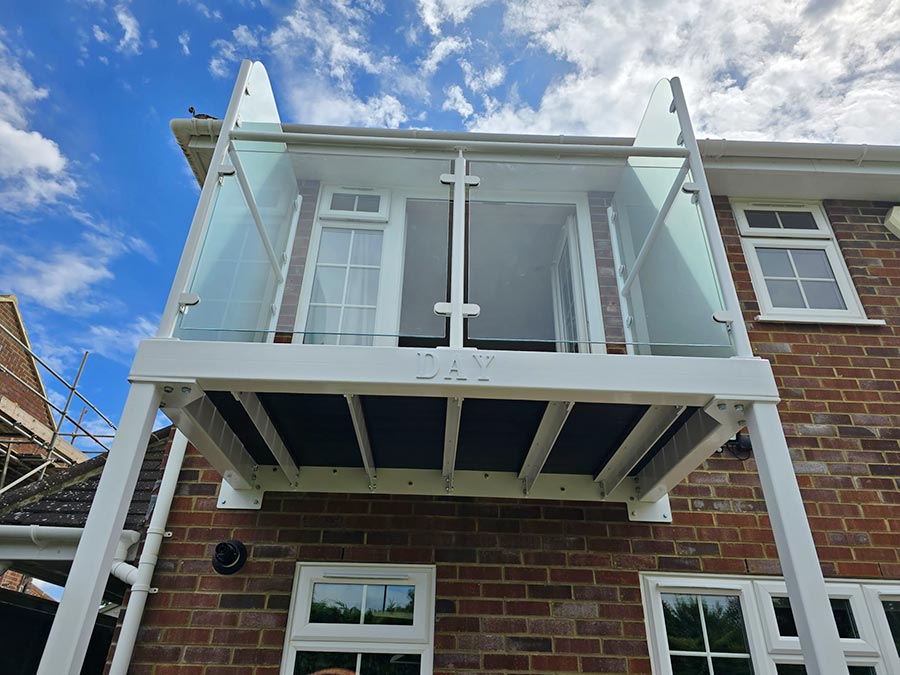
Recent work we’ve completed:
“Our go to metal coating. Good service and always willing to advise.”WT
“Superb company, have dealt with for many years and have an excellent working relationship. Would recommend to all.”RB
“Any concerns I had about my items colour matching were dispelled as to put it bluntly the company got it "spot on"”RB
See our 5 star Google Reviews
Why Choose Express Coatings for Powder Coating Repairs?
Express Coatings brings decades of experience, expert coating techniques and full-service solutions to every repair job, ensuring your metal components regain their finish, protection and aesthetic appeal — no matter how old or damaged.
- Skilled Repairs with Industry-Grade Materials
- Precision Surface Preparation & Repair Techniques
- Flexible Service – Small Items to Large Structures
- Fast Turnaround and Transparent Quotes
- UK-Wide Collection, Delivery and Return Service
- Sustainable Option — Reduce Waste, Extend Product Life

Frequently asked questions
Powder Coating Repairs
- Can any powder coating be repaired or re-coated?
- Will the repaired area match the original perfectly?
- How durable are repairs compared to a fresh powder coating job?
- How long does a typical repair take?
- Do you offer pick-up and delivery for repair jobs?
- What if the damage is beyond repair?
Do you still have questions? If so, contact us today:
More About Our Powder Coating Repair Services in Sheffield
Our powder coating repair service is designed to bring worn, weathered or damaged metalwork back to a strong, long-lasting finish without the cost of full replacement. From our Sheffield facility, we use professional surface preparation techniques to remove failing coatings, stabilise exposed metal and rebuild the finish using fresh, high-quality powders. This approach not only restores colour and appearance but also reinstates vital corrosion resistance and protection against everyday wear. Repairing powder coating is often the most efficient and sustainable option for items that still have structural integrity, and we support everything from small domestic pieces to large architectural and industrial components with UK-wide collection and delivery available.
Our full range of services:


"*" indicates required fields